Once you have defined the questions you want to ask, you can easily present them to your audience in surveys. RightNow Feedback contains flexible tools for creating custom surveys in a variety of formats. Surveys can be:
- Sent as mailings
- Served as web pages
- Sent as events triggered by a campaign or business rule.
With a wide range of formatting and customization options and full analytics integration for tracking results, surveys provide you with a powerful channel for inviting, gathering, and analysing customer feedback.
You can create four types of surveys, distinguished by invitation method:
- Broadcast surveys are used to send broadcast invitations to specified audiences at a time you choose.
- Transactional surveys send invitations triggered by events that you define, such as an incident resolution or a campaign action.
- Website link surveys rely on separate invitation delivery mechanisms, such as a link to the survey placed on a web page.
- Polling surveys display as a single question on a customer portal page or any page that is external to the customer portal, such as a “Poll of the Day”. After customers submit their response, they see a poll results chart or a thank-you message.
Although available features vary by invitation method, every survey is presented through a web page and can be linked to from outside of RightNow CX. With the exception of polling surveys, surveys can be added to workspaces, letting your agents complete surveys by proxy (on behalf of contacts) during telephone interactions.
To create a survey
1. Click the Surveys button on the navigation pane and double-click Surveys Explorer.
2. Click the New button on the ribbon. A new survey opens on the content pane.
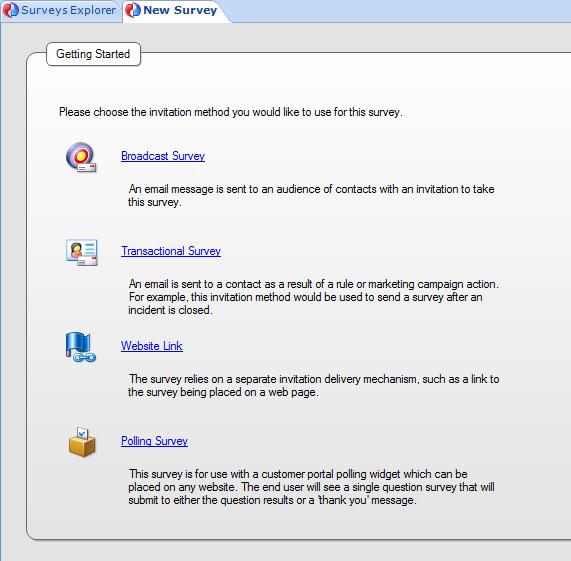
3. Choose the type of survey (in this case we will select Broadcast Survey).
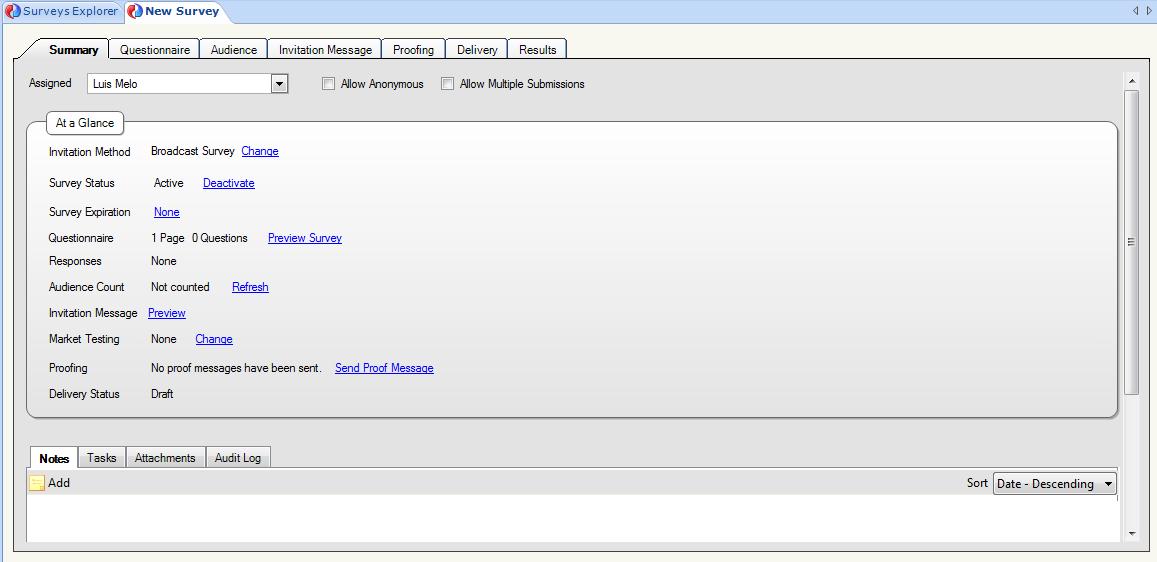
4. To let customers answer the survey anonymously, select the Allow Anonymous check box.
5. To let customers submit the survey more than once, select the Allow Multiple Submissions check box.
6. Use the At a Glance section to perform common survey functions
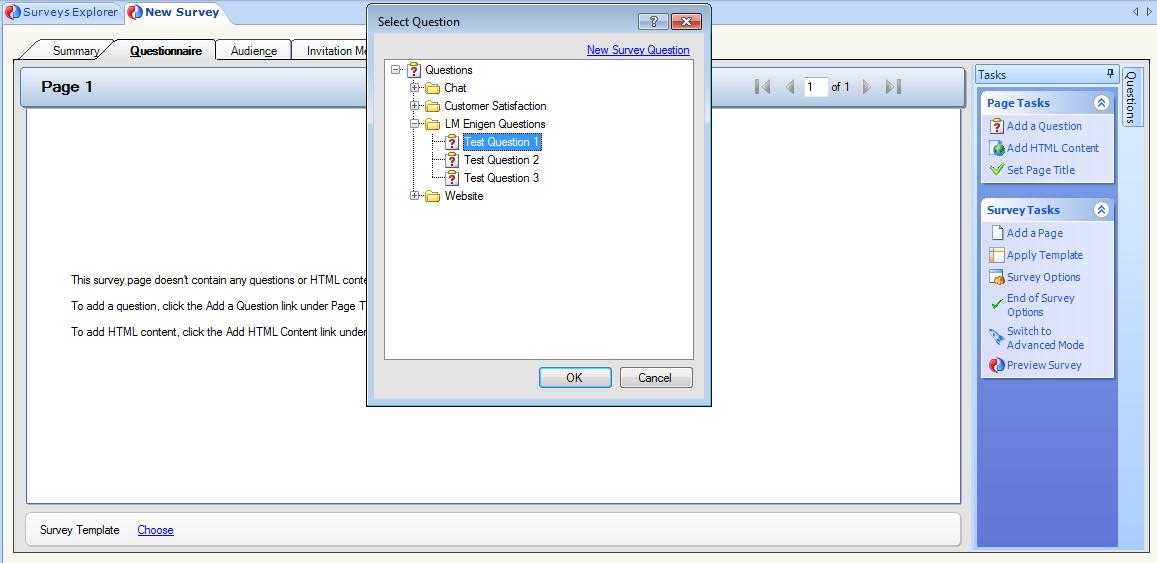
7. Click the Questionnaire tab to add questions and HTML content to the survey.
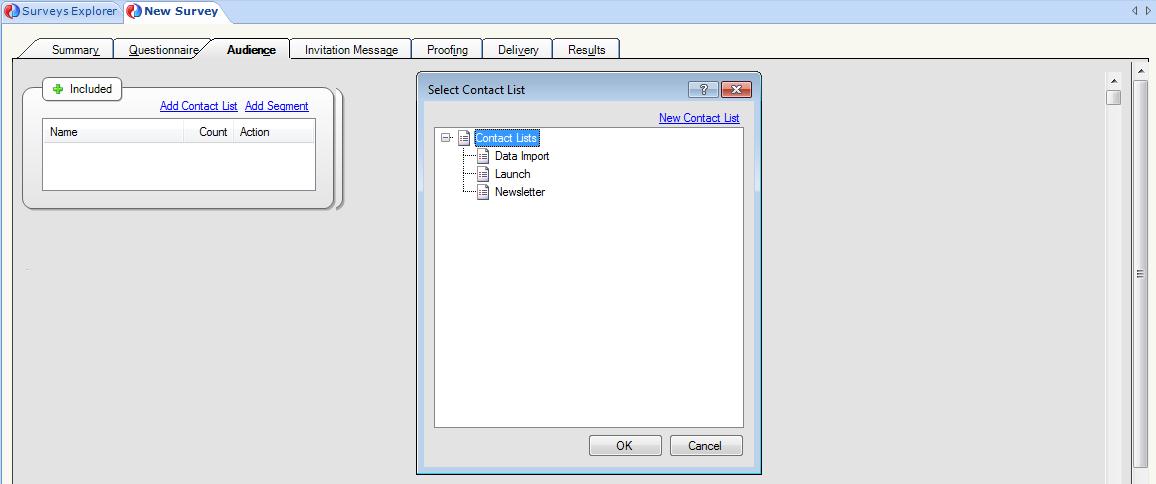
8. Click the Audience tab to define an audience for the survey
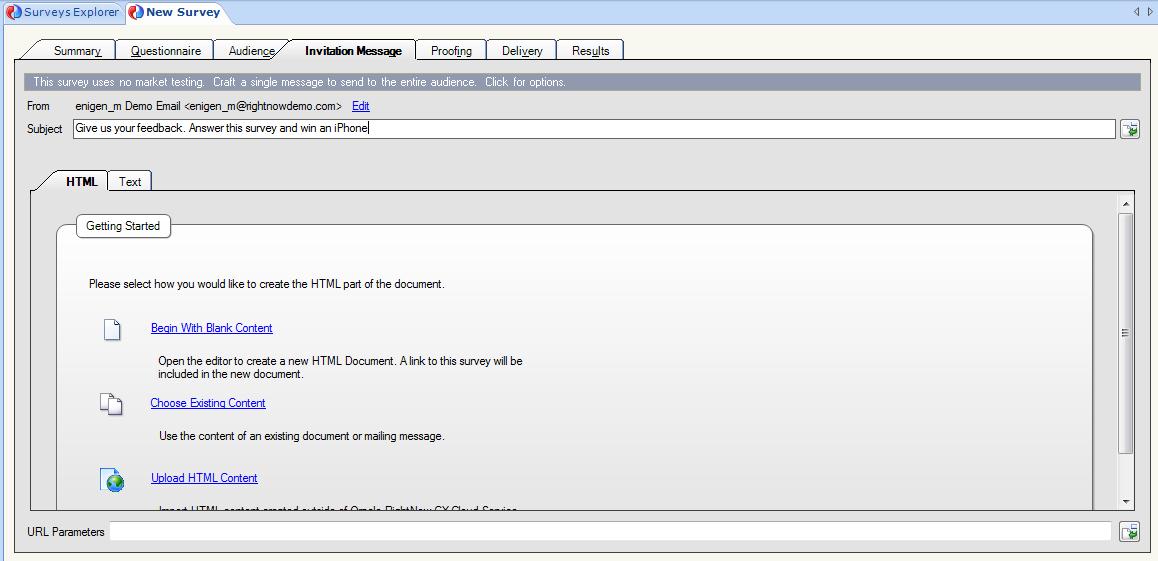
9. Click the Invitation Message tab to create the message sent to the survey audience
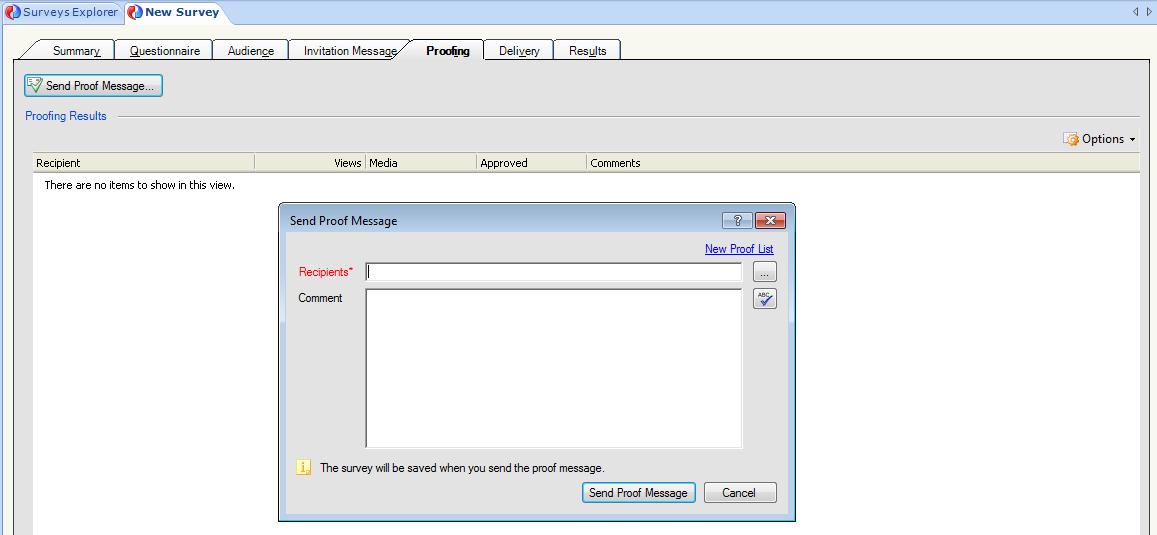
10. Click the Proofing tab to send a proof of the email for internal review before sending it to the entire audience
11. Click the Delivery tab to select delivery options

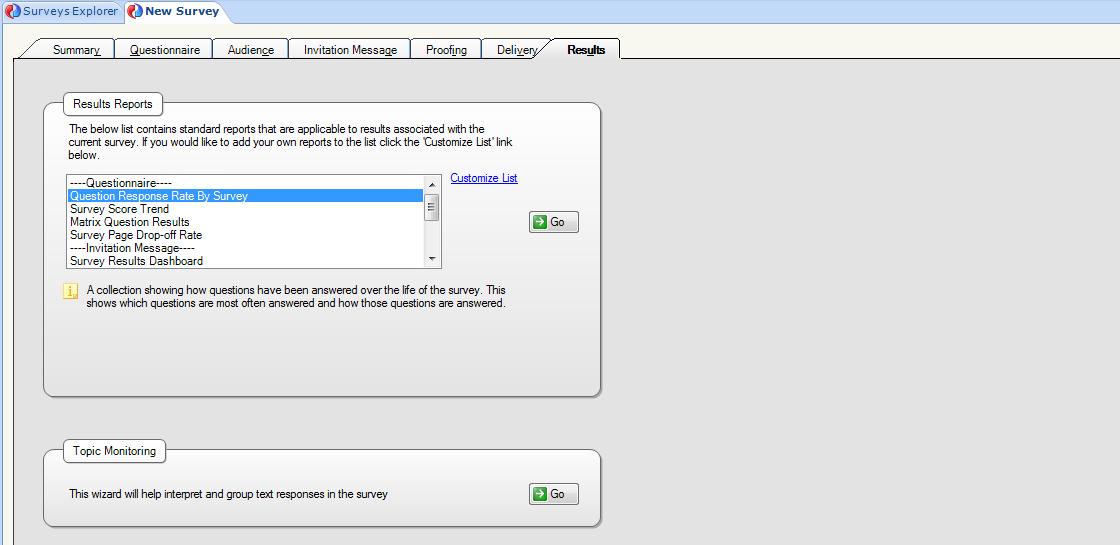
12. Click the Results tab to view the report associated with the survey
13. To preview the survey, click the Preview Survey button on the ribbon. The survey preview opens in a web browser