
Monitoring social channels consists of searching the social cloud to track your organization’s reputation for the products or services it offers. You can manage your favourite cloud searches and subscriptions, schedule cloud searches, ignore or respond to posts, and create incidents from posts. You can also append posts to existing incidents as note thread entries.
By default, cloud search results that are not responded to, ignored, or added to an incident within 7 days are automatically deleted from the system. To change this frequency, modify the setting in configuration settings: PURGE_CLOUD_RESULTS.
The first step to monitoring the social cloud is to add cloud searches so you can search for posts mentioning your organization, products, services, or anything else related to your organization that you are interested in. You can also add subscriptions to monitor all content from an entire Facebook page or RSS feed.
To add a cloud search:
1. Click the Cloud Monitor button on the navigation pane.
2. Double-click Cloud Monitor in the navigation list.
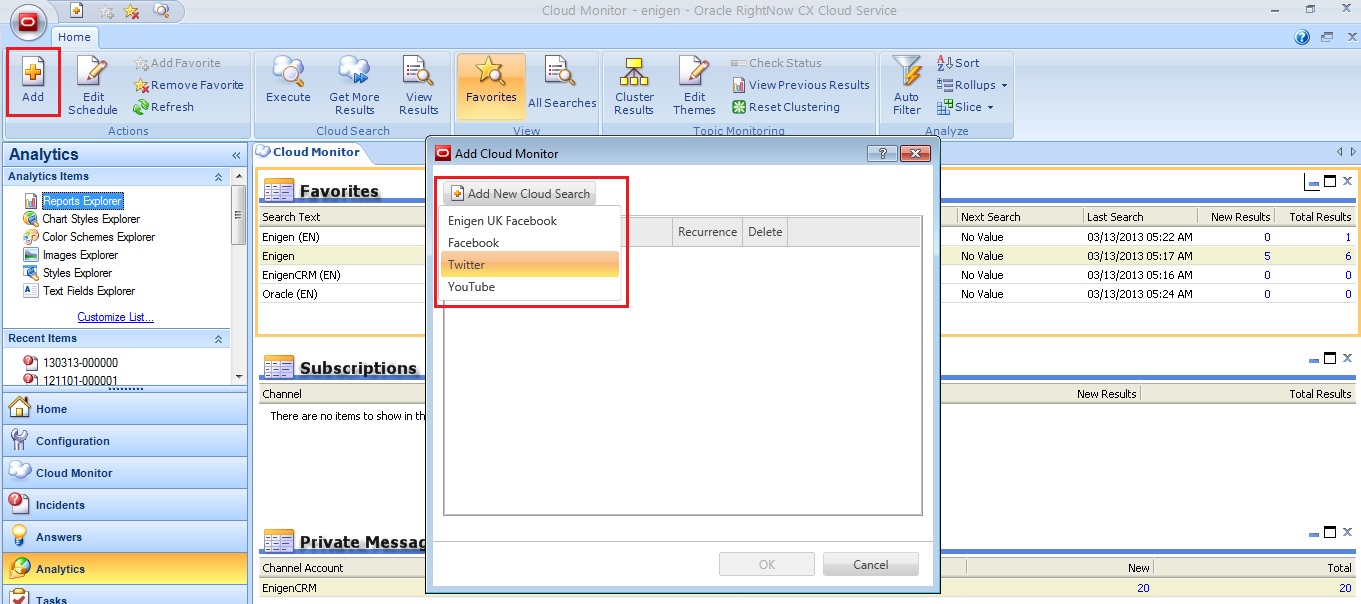
3. Click Add button in the ribbon. The Add Cloud Monitor window will open.
4. Click Add New Cloud Search button and choose the channel from the drop down list.
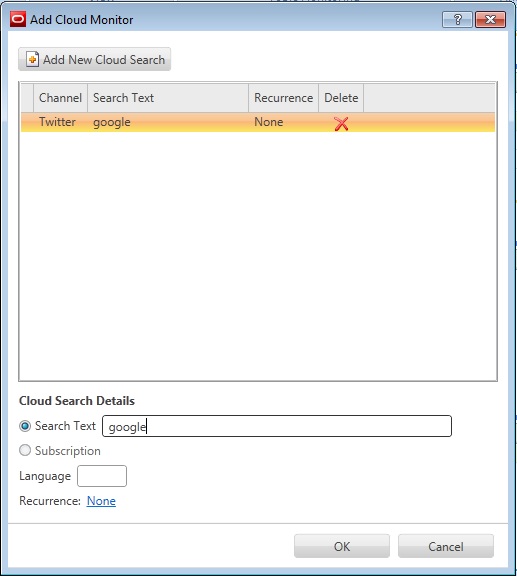
5. Enter the word you want to search for on the Search Text field.
6. Enter the language preferred on the Language field (e.g. for English enter EN).
The search will be displayed on the Favourites report on the content pane, where the agent can drilldown on New Results or Total Results to see the detail. The Cloud Monitor by Search report opens and from there agents can respond or ignore posts as well as create incidents from posts or append them to an existent incident.

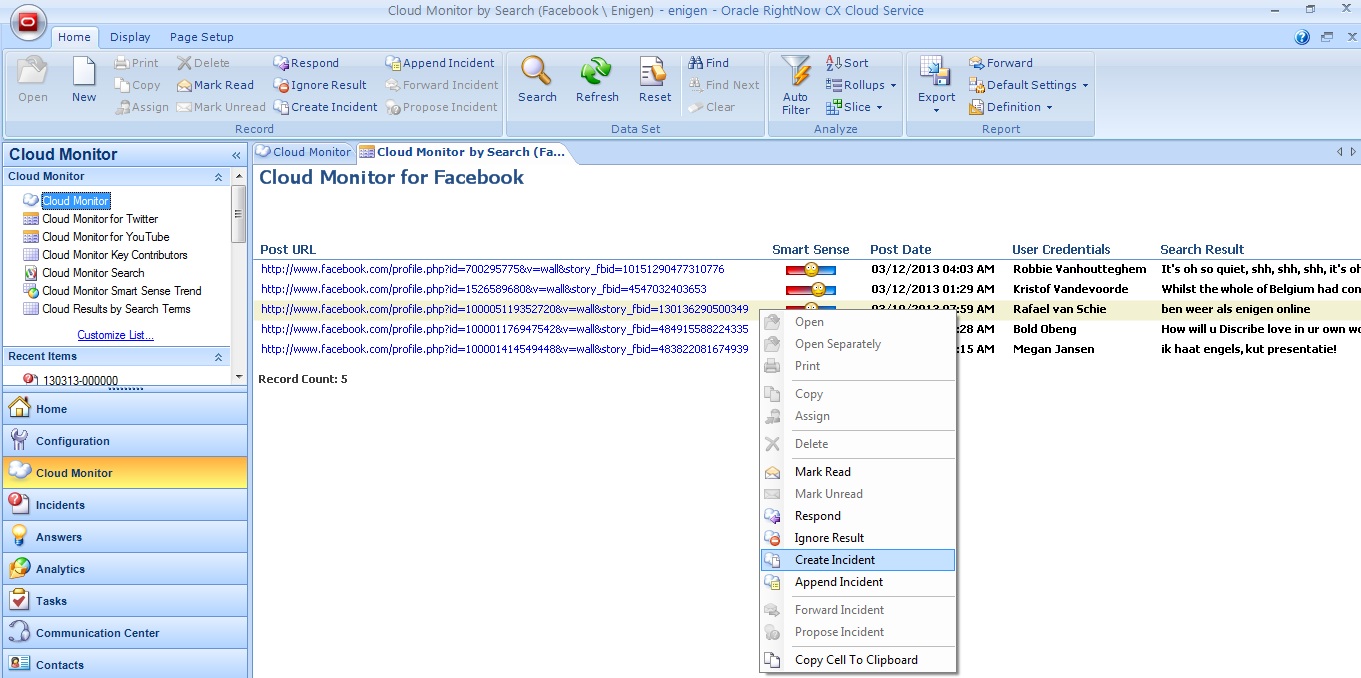
Once an incident has been created for a post, it can be assigned to a staff member from the cloud search report by selecting the post and clicking the Assign button on the ribbon.
In addition to posting public messages, agents can view and respond to private messages received by the organization’s Twitter account. Once you have enabled private message permissions in a Twitter channel account the Dbstatus utility automatically checks for private messages every 15 minutes and displays them on the cloud monitor.
Private message search results function like other cloud search results – you can create incidents from them, append them to existing incidents, mark them read, or ignore them. You can configure each Twitter channel account to automatically create incidents from all private messages it receives.
![]()
Scheduling cloud searches can save you time and help ensure that you consistently monitor the social cloud. For instance, you could set up a schedule to search once a week on a specific day or schedule a one-time search to coincide with a product release or important organizational announcement. A search cannot be scheduled unless it is marked as a favourite. To schedule a cloud search click the Edit Schedule button on the ribbon. The Cloud Scheduling window opens, where the agent can configure the schedule times.

