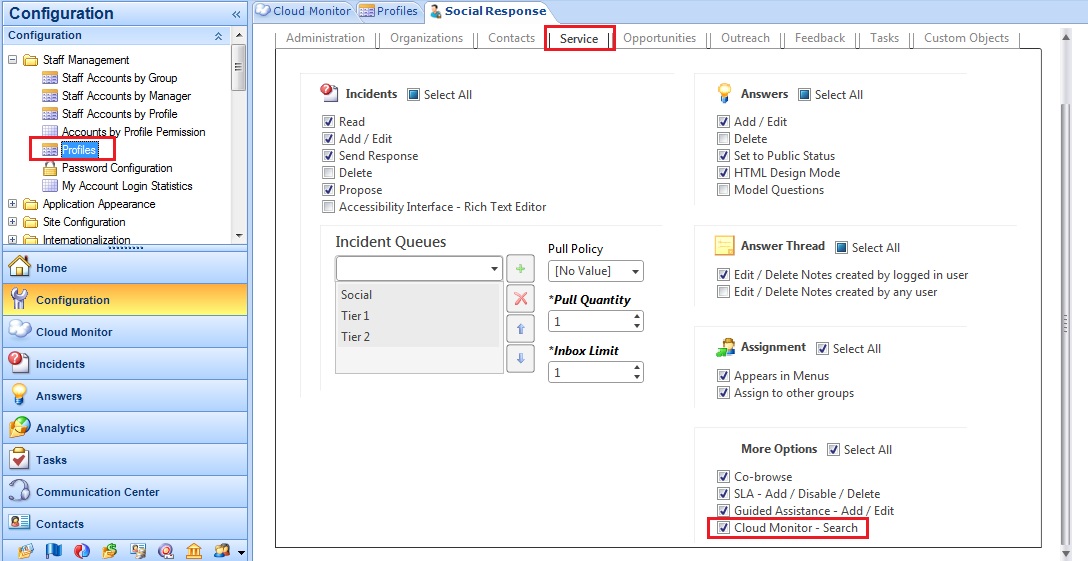
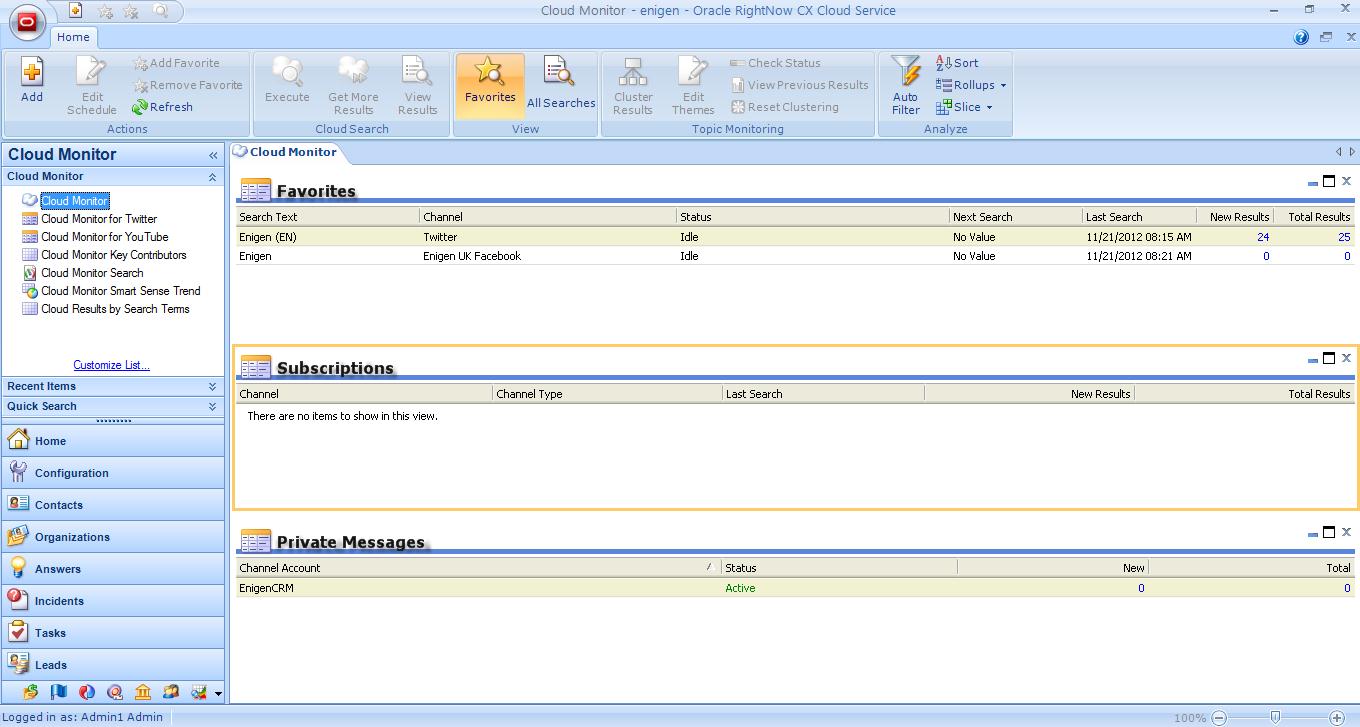
Using the cloud monitor, you can add social media posts from Facebook, Twitter, and RightNow Community to new or existing incidents so they can be processed on the agent desktop.
You cannot respond to RSS feeds or YouTube posts through RightNow CX. However, you can create incidents from them, which can be helpful for other business purposes.
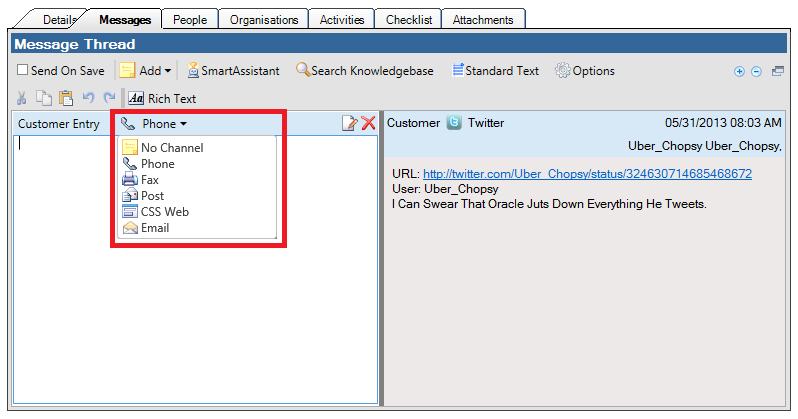
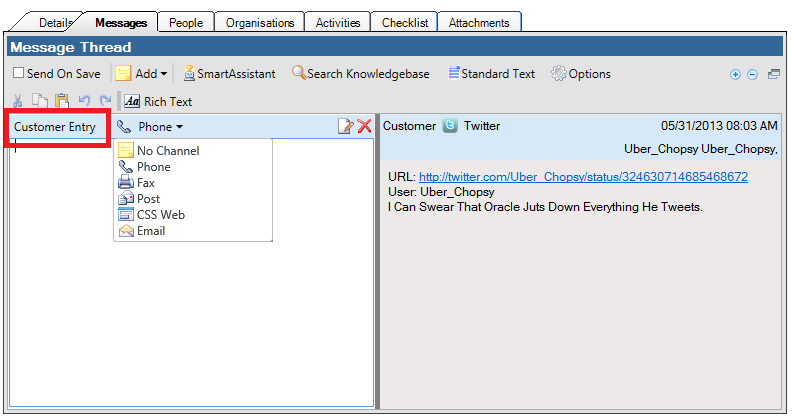
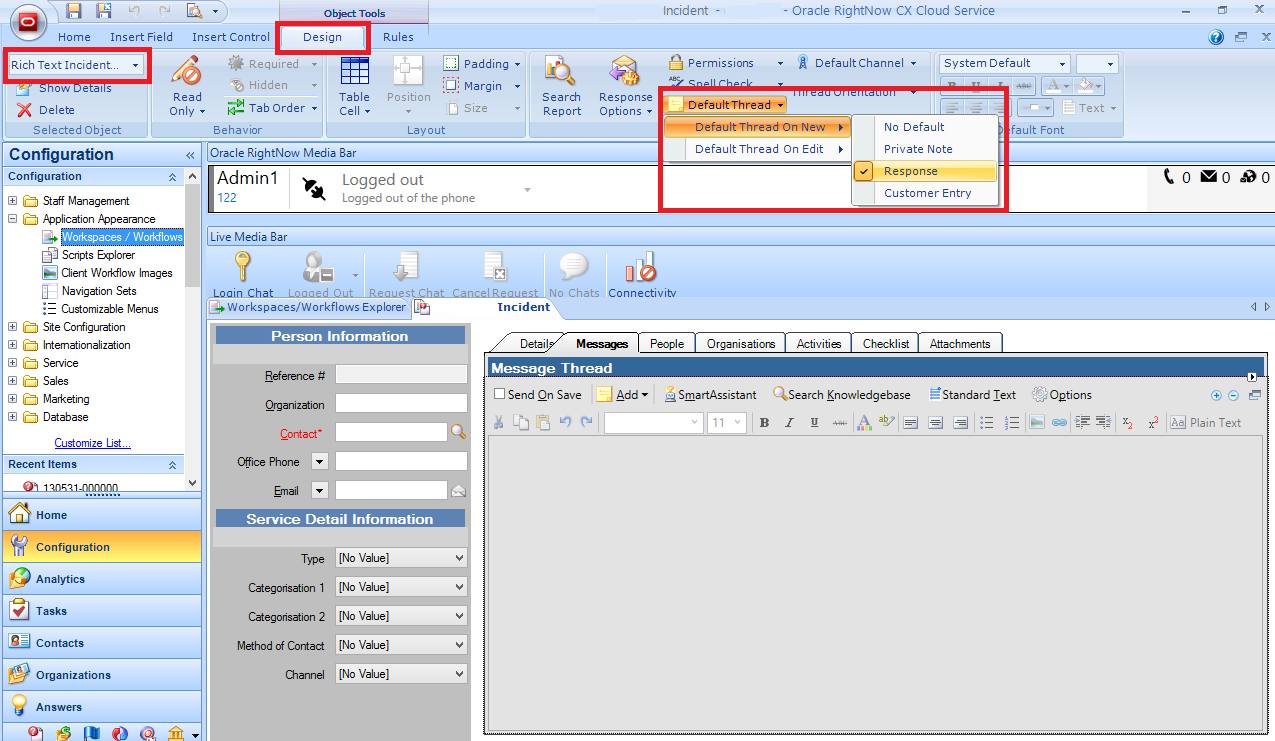
When you create an incident from a social channel, the content of the post is added as a customer thread entry. By default, the incident’s subject field will contain the name of the channel and the leading text of the post. Together exceeding no more than 240 characters. However, you can customize the subject field contents by editing the CLOUD_INC_SUBJECT_TEXT setting.
The method used to associate incoming social incidents with contacts varies by channel. Incidents created from a post in RightNow Community are associated with contacts based on contact email address. Incidents created from Facebook, Twitter, and YouTube posts are associated with a contact based on social media user name. If no matching contact is found, a new contact record is created and associated with the incident. Incidents created from RSS Feed or YouTube will be associated with a common generic contact.
The way you respond to social incidents also varies by channel. RightNow CX tracks each incident’s originating channel in the incidents.channel_id field and selects the same channel by default when you send a response. Each response is posted back to the contact using the unique messaging conventions of the originating media service.
Responding to Facebook posts
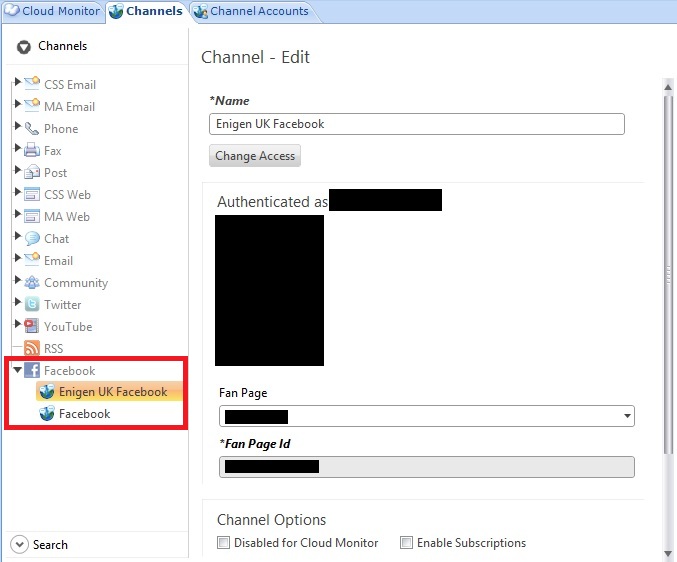
In Facebook, social conversations take the form of posts and comments on pages. While the cloud monitor allows you to monitor (but not respond to) posts from the public Facebook feed, you can respond to incidents created from customer posts on your organization’s Facebook fan page.
When you respond to a post on your organization’s Facebook page, the response appears as a comment beneath the post. The post is attributed to the name of the Facebook page designated by the channel account, rather than the agent’s name.
To respond to a Facebook post:
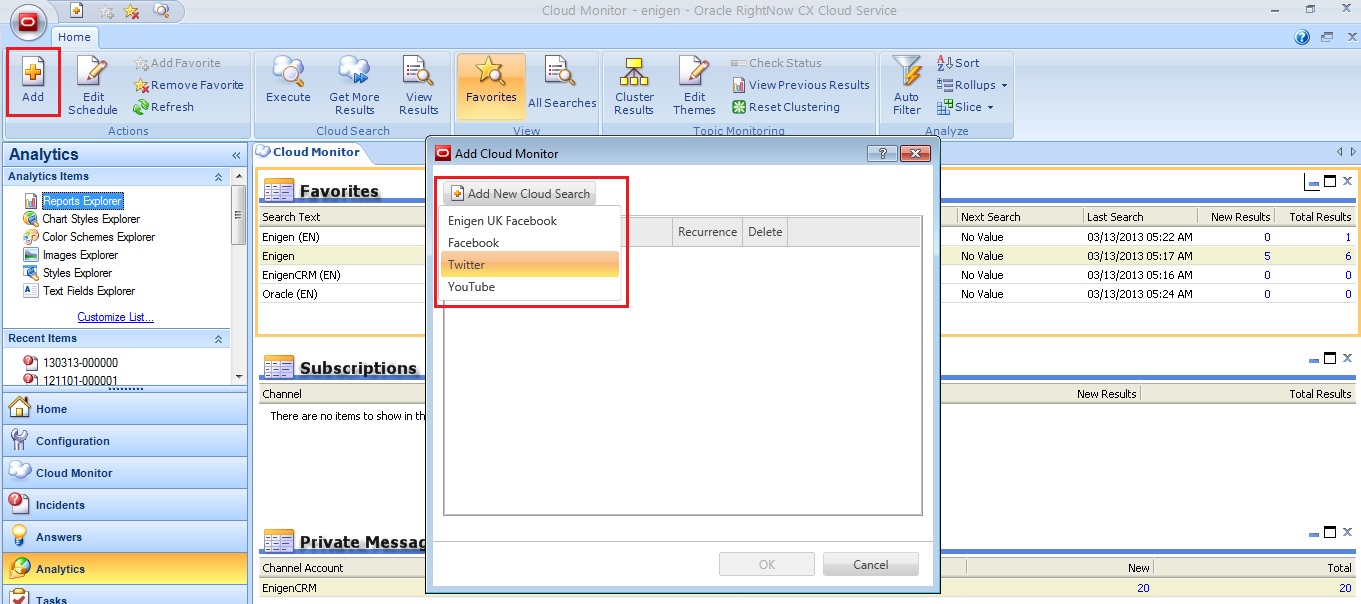
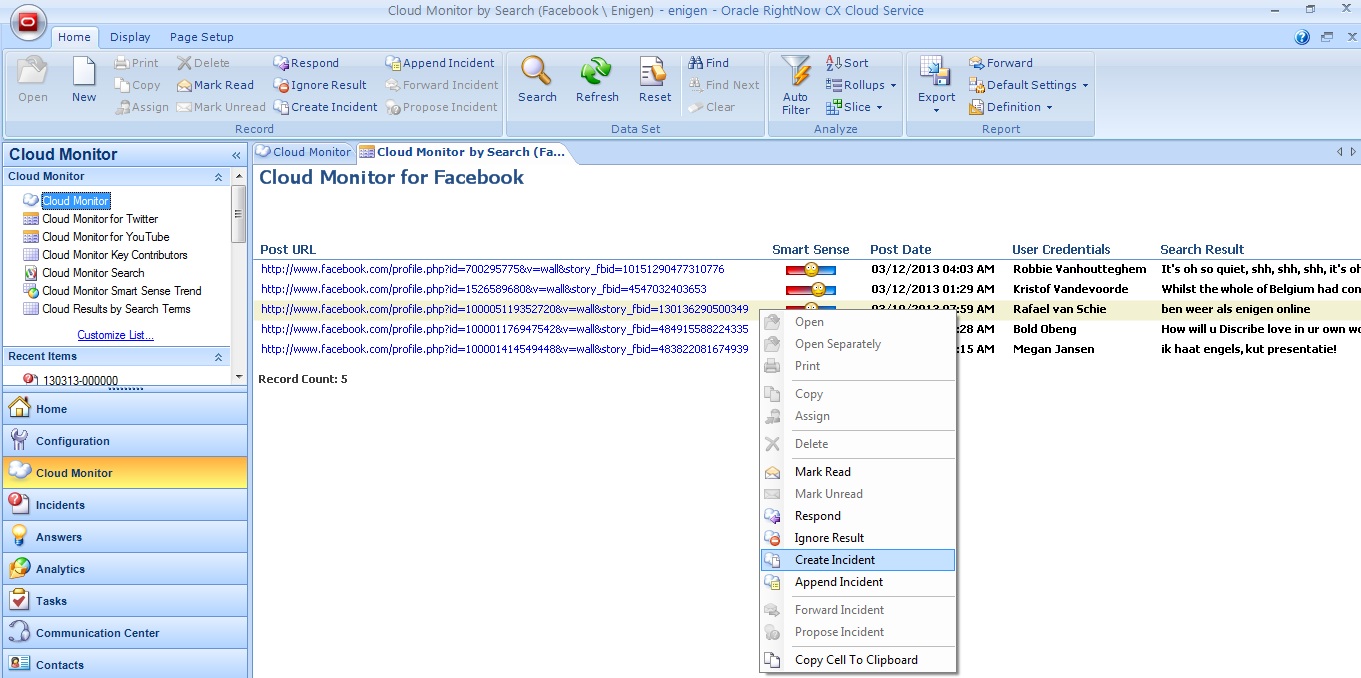
1. Perform a cloud search on a custom Facebook channel and view your search results
2. From the open cloud search report, select the post you want to create an incident from in the search results list.
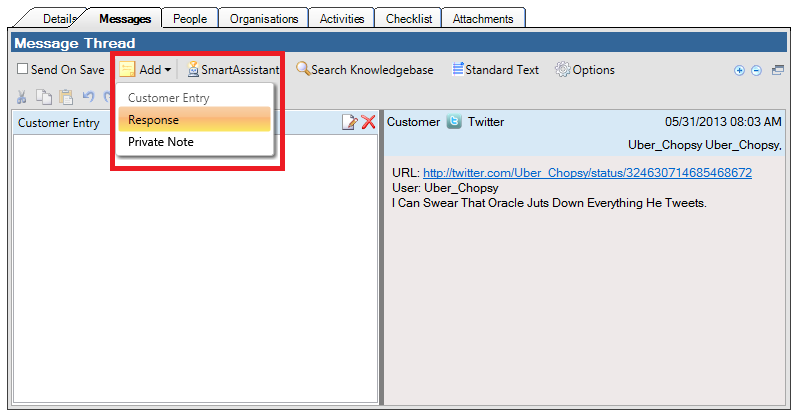
3. Click the Respond button on the ribbon. A new incident opens on the content pane containing the details of the post
4. Select the Send On Save check box. The incident thread expands to reveal Facebook channel response options. The thread displays the name of the post’s originating channel and automatically selects the same channel for the response. The default channel account associated with the responding agent is also displayed
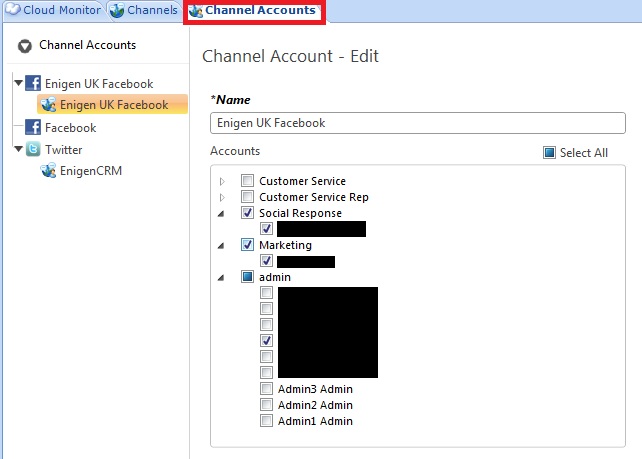
5. If your site has more than one Facebook channel account, click the Respond As dropdown menu in the header of the response thread.
6. Fill in any remaining details for the incident.
7. Click the Save and Close button on the ribbon.
Responding to Twitter posts
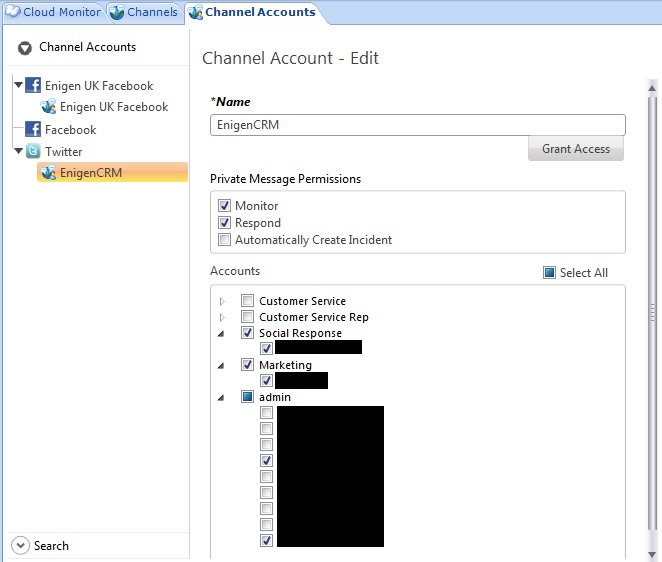
RightNow CX can create incidents automatically from private Twitter messages when you select the Automatically Create Incident option in the Twitter channel accounts editor.
To respond to a Twitter post:
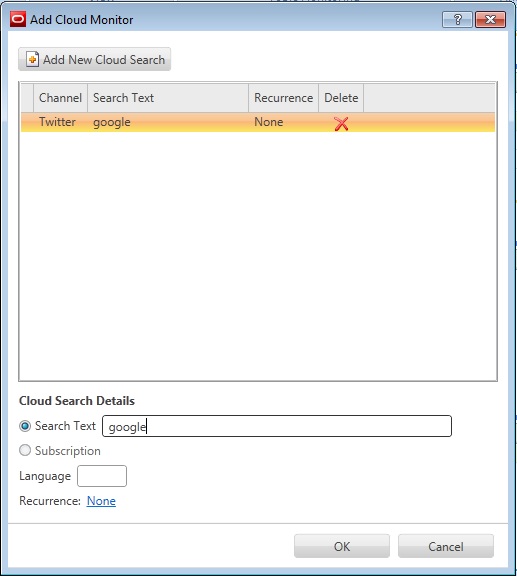
1. Perform a cloud search on a Twitter channel and view your search results.
2. From the open cloud search report, select the post you want to create an incident from in the search results list.
3. Click the Respond button on the ribbon. A new incident opens on the content pane containing the details of the post
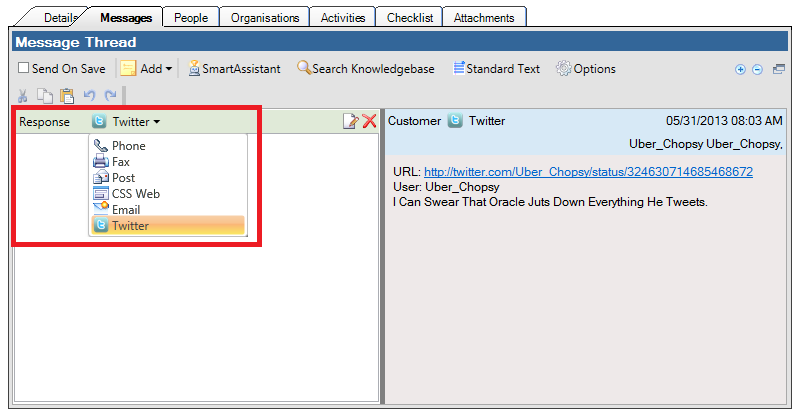
4. Select the Send on Save check box. The response thread header expands to reveal Twitter channel response options.
5. If your site has more than one Twitter channel account, click the Respond As drop-down menu and select the account you want to respond from.
Important: The channel account you respond from must include Private Message Response permissions. If the customer’s Twitter account is following your organization’s Twitter account, the Send Private check box will be visible and selected by default. You can clear this check box to post the message to the public feed. If the customer’s account is not following your organization’s account, the Send Private check box will not be shown and all sent messages will be public.
6. If your organization’s Twitter account is not yet following your customer’s Twitter account, click the Follow button.
7. Type your response in the response thread. Remember to limit each response to 140 characters, the maximum number allowed by Twitter.
8. Fill in any remaining details for the incident.
9. Click the Save and Close button on the ribbon to send the response through Twitter.