
Microsoft Outlook can be integrated with Oracle RightNow CX Cloud Service, enabling you to share your contacts and tasks and synchronize your email. Using Outlook integration, your data will be more complete and up-to-date, and you’ll no longer need to switch back and forth between applications. You can also create contacts and incidents when syncing Outlook email with Oracle RightNow CX.
Outlook integration is comprised of the following components.
- Contact synchronization: Enter contact information one time, in either Oracle RightNow CX or Outlook, and have that information shared in both applications.
- Task synchronization: Enter task information one time in either application and have that information shared in both applications.
- Email integration: Append Outlook email, including attachments, to existing contacts, organizations, opportunities, and incidents in Oracle RightNow CX.
The following actions must be taken to use Outlook integration.
- Step 0: Enable Outlook integration on your site: Contact your Oracle account manager.
- Step 1: Add or update profiles to include Outlook integration permission.
- Step 2: Install Outlook integration software on agent workstations.
Step 1: Adding Outlook integration permissions to profiles
You can be assigned full Outlook integration permissions (contact and task synchronization, email integration) or any combination of the three permissions.
To add Outlook integration permissions to a profile:
1. Click the Configuration button on the navigation pane and double-click Profiles under Staff Management.
2. Open the profile you want to edit.
3. Click the Permissions button on the ribbon and then the Outlook Integration tab.
4. To allow staff members to append Outlook email to contacts, organizations, opportunities, and incidents in RightNow, select the Email Integration check box.
5. To allow staff members to share contacts between Outlook and RightNow, select one or more of the Contact Synchronization check boxes.
- To share contacts that are in the Opportunities state, select the Opportunities Contacts check box.
- To share contacts that are in the Service state, select the Service Contacts check box.
- To share Outlook contacts with RightNow, select the Outlook to Server check box.
- To share RightNow contacts with Outlook, select the Server to Outlook check box.
6. To allow staff members to share tasks between Outlook and RightNow, select one or both of the Task Synchronization check boxes.
- To share Outlook tasks with RightNow CX, select the Outlook to Server check box.
- To share RightNow CX tasks with Outlook, select the Server to Outlook check box.

7. To select different email synchronization reports for determining the contacts, opportunities, and incidents to return during email synchronizations, click the Search button to the right of the report you want to change. The Select Report window opens and the Outlook Integration folder expands by default.

Step 2: Install Outlook integration software
After Outlook integration has been enabled and you have been assigned the correct profile permissions, you must install the necessary components on your workstation. When you install Outlook integration, RightNow CX checks your profile to see which components (email, contact, and task) you have permission to share and synchronize. The installation process adds Share and Sync buttons to your Outlook toolbar.
To install Outlook integration:
1. Close Outlook.
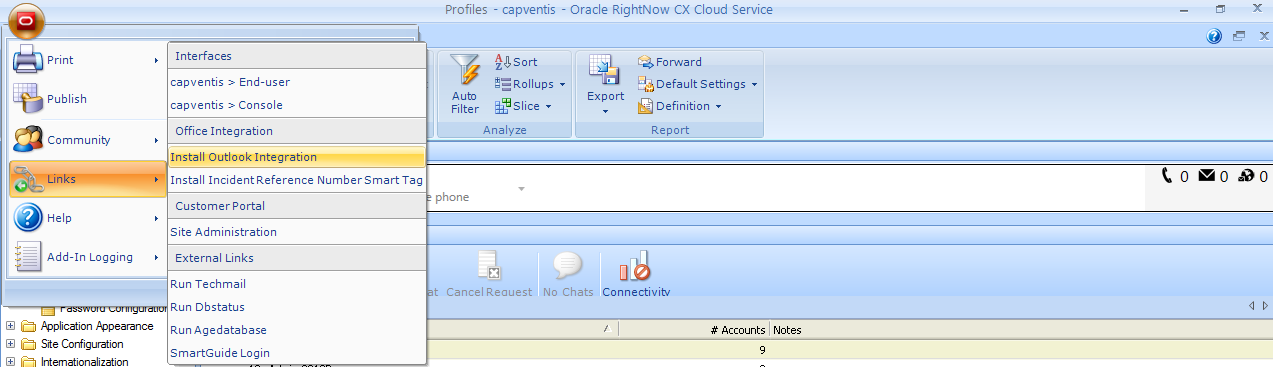
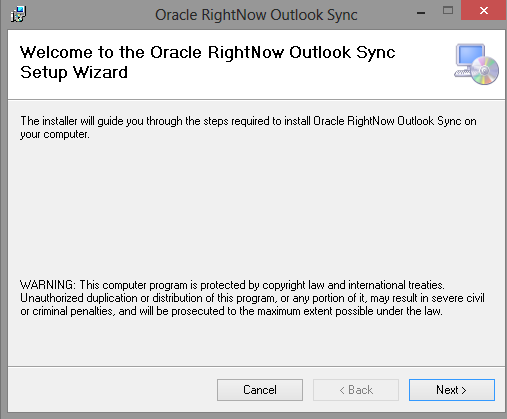
2. From RightNow CX, click the CX button and select Links > Install Outlook Integration. The RightNow Outlook Sync Setup wizard opens.
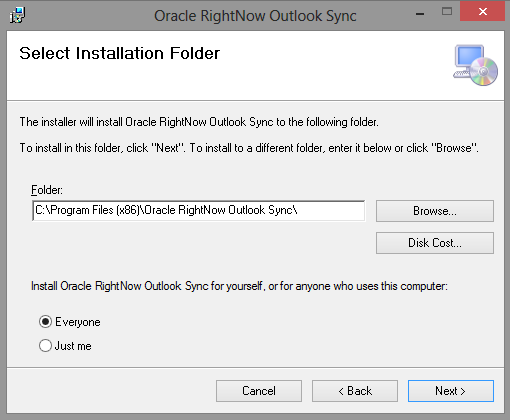
3. Click the Next button to open the Select Installation Folder window. (It is recommended that you install Outlook integration at the default location of C:\Program Files\Oracle RightNow Outlook Sync).
4. To install Outlook integration in a different location, click the Browse button, select the folder where you want to install Outlook integration, and click the OK button.
5. To see a list of the drives where Outlook integration can be installed, click the Disk Cost button. Click the OK button when you are finished.
6. If you are the only staff member who uses your workstation, select the Just Me radio button.
Or
7. If other staff members have accounts on your workstation and must also use Outlook integration, select the Everyone radio button.
8. Click the Next button to open the Confirm Installation window.

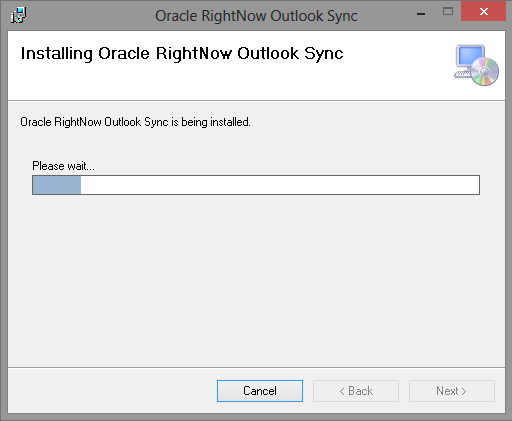
9. Click the Next button to begin the installation. After the installation is complete, the Installation Complete window opens.
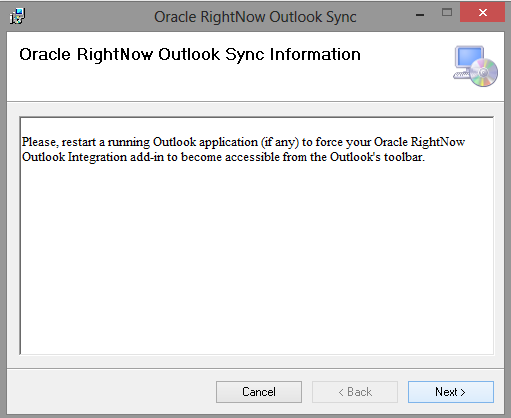

10. Click the Close button to complete the installation.
With the proper components installed, you’ll want to review and possibly customize your sync options before using Outlook integration.
Important Note: RightNow currently does not support integration with Microsoft Outlook 2010 64-bit. You can use Outlook 2003, 2007 and 2010 32 bit. 64-bit is NOT supported.

One thought on “Configuring Outlook Integration”